
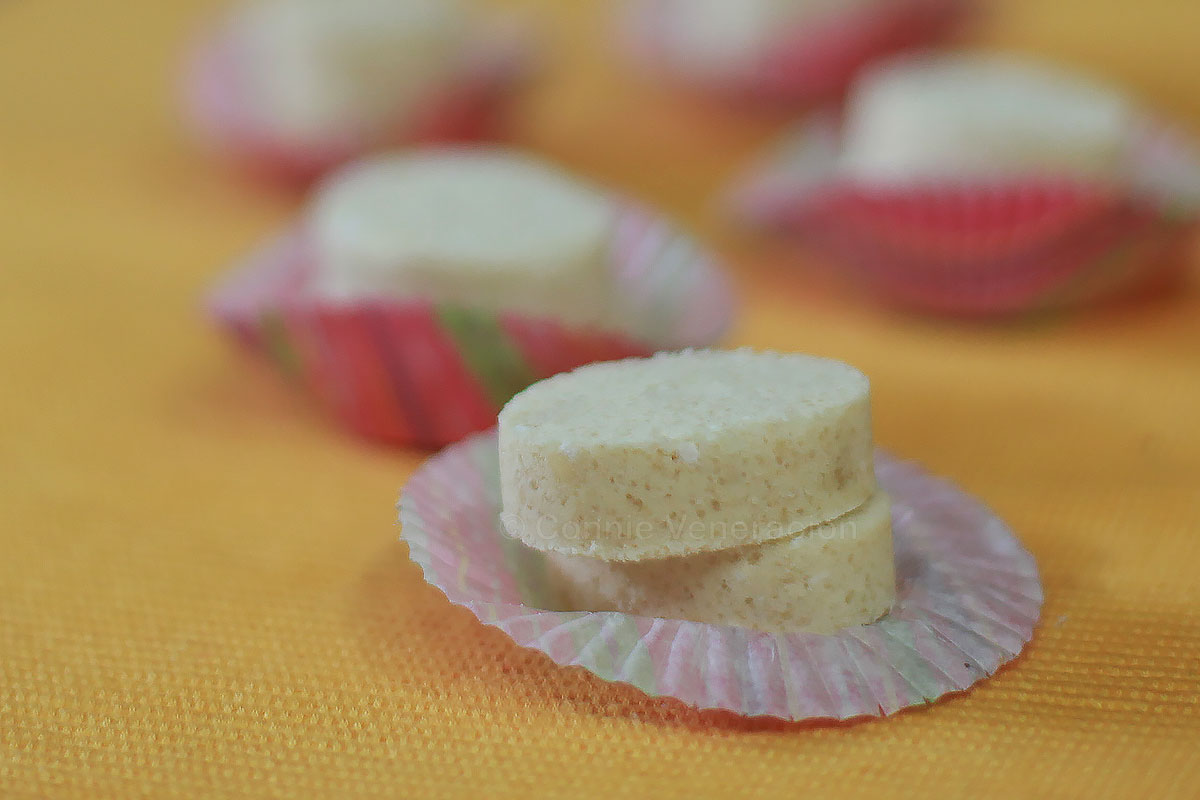
Adapted from the Spanish shortbread of the same name, Filipino polvoron is a no-bake sweet shaped by pressing toasted flour, powdered milk, sugar and melted butter into a mold.
Cook’s notes
This is polvoron the way it was made when I was a child. There are countless variants today. The polvoron can be coated with melted chocolate and left to harden, or the flour can be substituted with crushed nuts or cookies.
But we’ll get to some of those variations later. This is traditional Filipino polvoron. Nutty, butter-rich, crumbly but able to hold its shape when held between the fingers.
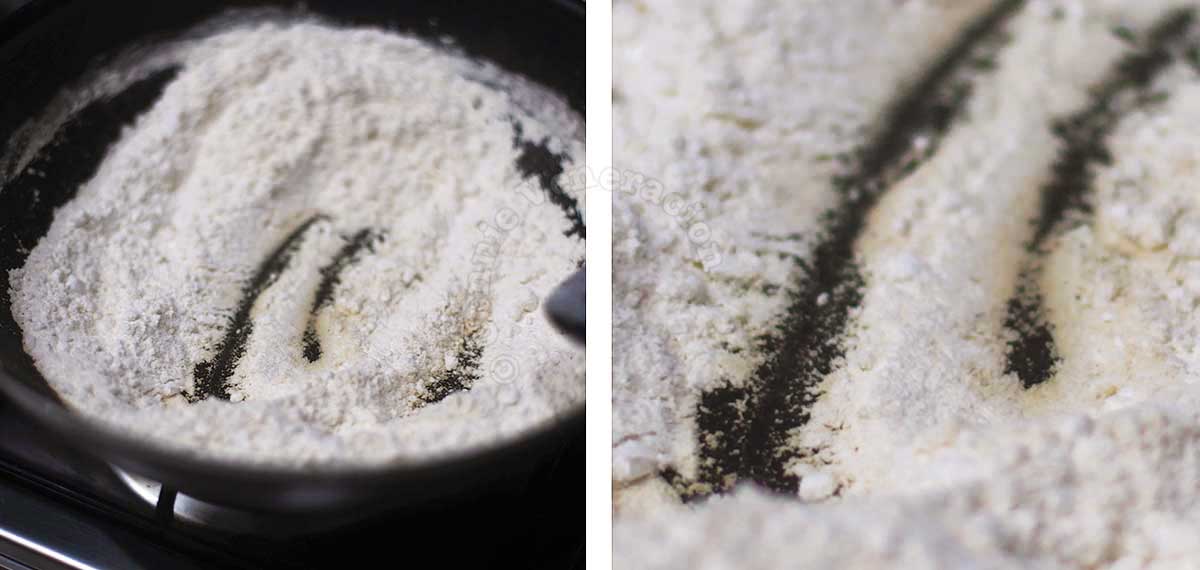 The nuttiness is not because of the presence of nuts. There are no nuts in traditional Filipino polvoron. The nutty flavor and aroma come from the toasted flour. To toast the flour, simply spread it in a thick-bottomed pan set over medium heat, stir occasionally until the color turns from white to beige.
The toasted flour needs to cool to room temperature before adding whisking in the powdered milk and sugar. If you add the last two while the flour is still hot, they will melt in the heat and you’ll have a gloopy mixture instead of a powdery one.
The nuttiness is not because of the presence of nuts. There are no nuts in traditional Filipino polvoron. The nutty flavor and aroma come from the toasted flour. To toast the flour, simply spread it in a thick-bottomed pan set over medium heat, stir occasionally until the color turns from white to beige.
The toasted flour needs to cool to room temperature before adding whisking in the powdered milk and sugar. If you add the last two while the flour is still hot, they will melt in the heat and you’ll have a gloopy mixture instead of a powdery one.
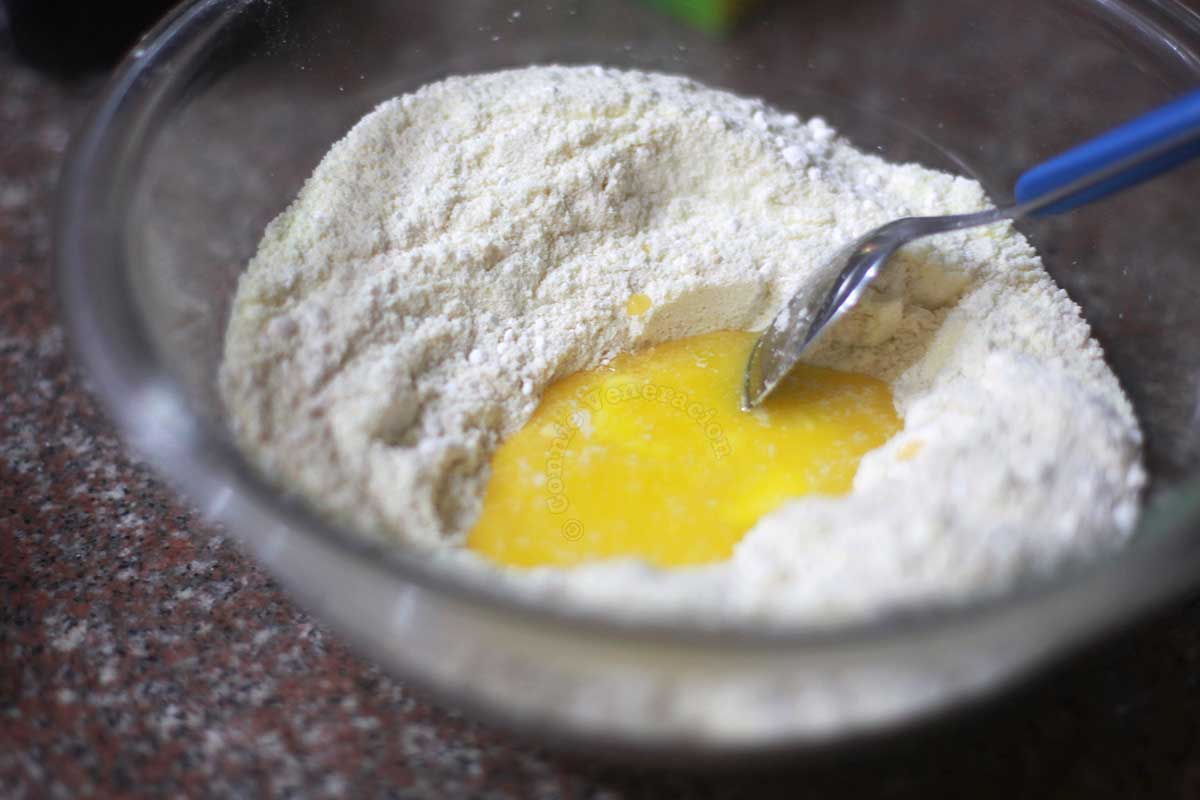 Once the flour, milk and sugar have been sifted together, add melted butter. Real butter. Not margarine. Not butter substitute. Salted butter is best because it balances the sweetness so that the polvoron does not become cloying.
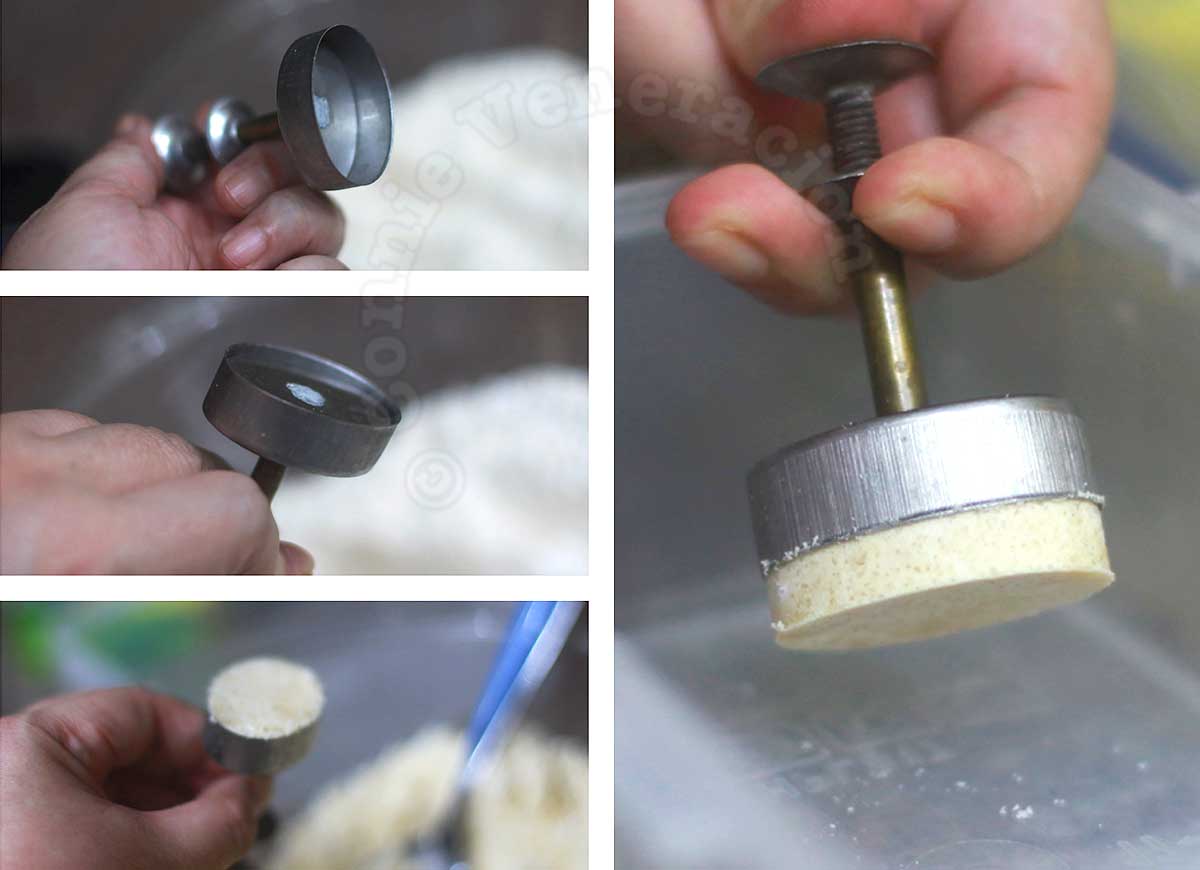 You need a polvoron molder. That’s what the it looks like. This is oval-shaped and rather small. There are larger sizes and there are round molders too. There is a spring in the handle that, when pressed, pushes the plate on the bottom of the molder. To use the polvoron molder, pack the molder with the polvoron mixture. Push the molder handle to release the compressed polvoron.
Traditionally, polvoron is wrapped individually in small squares of colored cellophane or Japanese paper. But since the polvoron I made were for home consumption, I skipped the wrapping part. For presentation purposes (for the photos), I used mini cupcake pan paper liners.
But if you want to wrap your polvoron individually, here’s a trick. To make wrapping easier, freeze the polvoron first.
You need a polvoron molder. That’s what the it looks like. This is oval-shaped and rather small. There are larger sizes and there are round molders too. There is a spring in the handle that, when pressed, pushes the plate on the bottom of the molder. To use the polvoron molder, pack the molder with the polvoron mixture. Push the molder handle to release the compressed polvoron.
Traditionally, polvoron is wrapped individually in small squares of colored cellophane or Japanese paper. But since the polvoron I made were for home consumption, I skipped the wrapping part. For presentation purposes (for the photos), I used mini cupcake pan paper liners.
But if you want to wrap your polvoron individually, here’s a trick. To make wrapping easier, freeze the polvoron first.
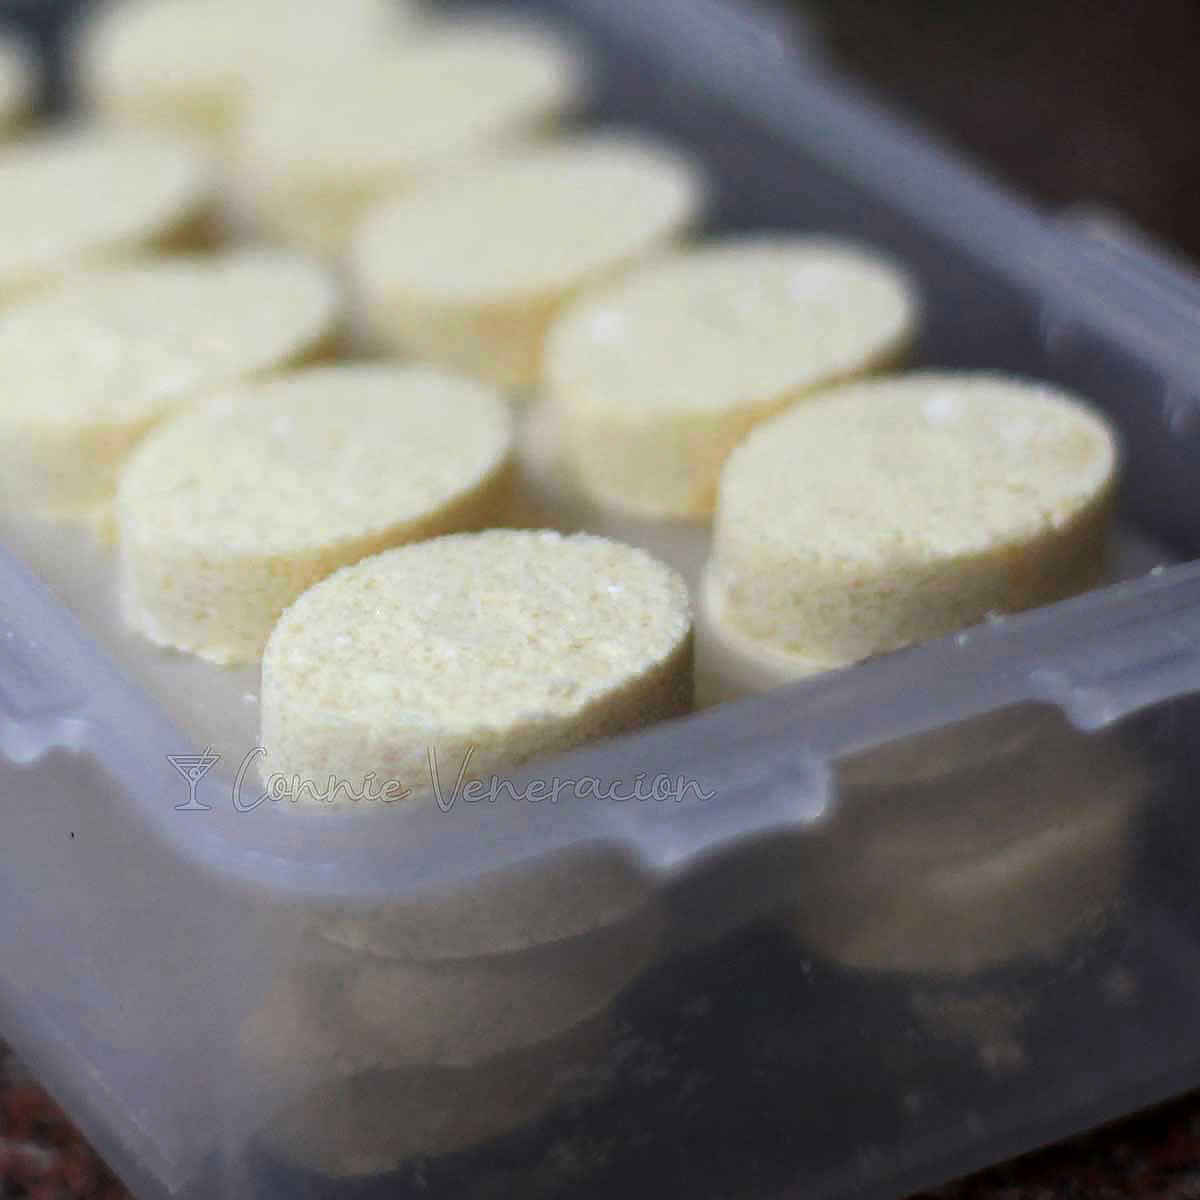 Stack them in a freezer-safe container, cover tightly then wrap the container in cling film to prevent the polvoron from absorbing aroma from other foods in the freezer.
The nuttiness is not because of the presence of nuts. There are no nuts in traditional Filipino polvoron. The nutty flavor and aroma come from the toasted flour. To toast the flour, simply spread it in a thick-bottomed pan set over medium heat, stir occasionally until the color turns from white to beige.
The toasted flour needs to cool to room temperature before adding whisking in the powdered milk and sugar. If you add the last two while the flour is still hot, they will melt in the heat and you’ll have a gloopy mixture instead of a powdery one.
Once the flour, milk and sugar have been sifted together, add melted butter. Real butter. Not margarine. Not butter substitute. Salted butter is best because it balances the sweetness so that the polvoron does not become cloying.
You need a polvoron molder. That’s what the it looks like. This is oval-shaped and rather small. There are larger sizes and there are round molders too. There is a spring in the handle that, when pressed, pushes the plate on the bottom of the molder. To use the polvoron molder, pack the molder with the polvoron mixture. Push the molder handle to release the compressed polvoron.
Traditionally, polvoron is wrapped individually in small squares of colored cellophane or Japanese paper. But since the polvoron I made were for home consumption, I skipped the wrapping part. For presentation purposes (for the photos), I used mini cupcake pan paper liners.
But if you want to wrap your polvoron individually, here’s a trick. To make wrapping easier, freeze the polvoron first.
Stack them in a freezer-safe container, cover tightly then wrap the container in cling film to prevent the polvoron from absorbing aroma from other foods in the freezer.Polvoron
Equipment
- polvoron molder
Ingredients
- 1 cup all-purpose flour
- 1 cup powdered full cream milk
- ½ cup white sugar
- ½ cup salted butter melted and cooled
- 1 pinch salt if using unsalted butter
Instructions
- Prepare the polvoron mold. Make sure it’s clean and dry.
- Toast the flour in an oil-free pan until lightly browned and nutty in aroma. Cool completely.
- When cool, sift together the flour, milk, sugar and salt into a bowl. Pour in the melted butter and mix until well-blended.
- Fill the mold with the mixture. Use the back of a spoon to press the mixture into the mold to make sure it is firmly packed.
- Push the mold handle to release the polvoron. Repeat for the rest of the mixture.
- Serve immediately or freeze for a firmer texture.




 Green onion leaves and feta breakfast muffins